You can add an autoresponder for your personal email address in Webmail.
Fast Help: To make it easy for you, follow the below image example
=====================================
To create an autoresponder
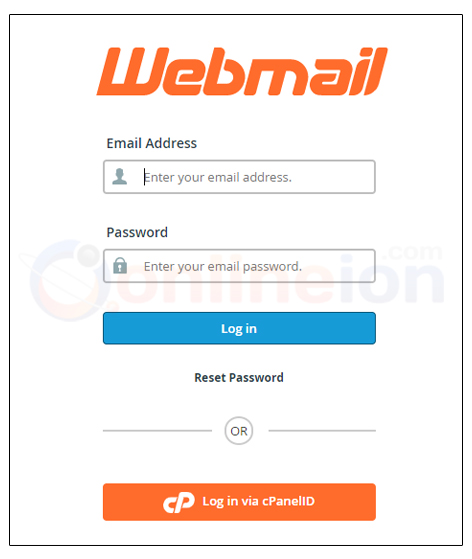
- Login to your Webmail interface at www.mydomain.com/webmail (replace mydomain.com with your real domain name) or https://onlinec1.hostduty.com:2096
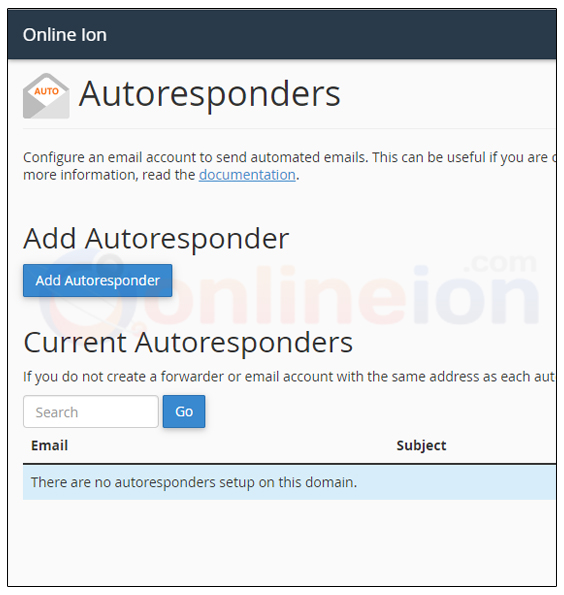
- From the user@example.com menu at the top right corner of the interface, select Autoresponders.

- Click Add Autoresponder.
- Choose the character set in which to send the email from the options in the Character Set text box.
The Character Set value defaults to utf-8. Most internet users encounter the utf-8 character set. - Enter the interval, in hours, for the autoresponder to wait between responses to the same email address.
For example, if you set up an autoresponder with an interval of 24 and you receive an email from user@example.com at 8:00 AM on Monday, the autoresponder immediately responds to the message. If, however, user@example.com continues to email you throughout the day, the autoresponder does not send another response for 24 hours after the initial email (in this case, 8:00 AM on Tuesday). If user@example.com emails you again after the 24-hour interval expires, the system sends them an autoresponse. - Enter your name in the From text box.
- Enter the message's subject in the Subject text box.
- If you wish for the email to display HTML code, select the HTML checkbox.
- Provide a body for your message. For example, I am out of the office until July 2nd. You can reach me on my cell phone in case of emergencies.
Note:
You can use tags in the body of the message to represent information, such as the incoming email's sender or subject. Tags use percentage signs (%) as markers.
The following tags are available:
%subject% — The subject of the message that the autoresponder received.
%from% — The name of the sender of the message that the autoresponder received.
If the sender's name was not in the original email's header, the %from% tag prints the sender's email address.
%email% — The sender's email address. - Select a start time.
- Select a stop time.
- Click Create/Modify to save the autoresponder.
All email messages to your email account will receive this autoresponse until you remove it or the selected stop time.
Remove an autoresponder
To delete an autoresponder, perform the following steps:
- Click
 next to the autoresponder that you wish to delete.
 - Click Delete Autoresponder.
